Liberty Canister Install
Liberty Fuel Canister Install
Ongoing discussion about this article can be found by Clicking Here.
Original Writeup By Fisherguy
Okay, this is where I left off with my AD100 install:
I ran the tank low again and at just over ¼ tank my FP gauge was doing what I expected, dropping to zero till the engine return line fills it enough that the AD pumps more fuel with the excess going to the filler neck, once the canister empties it's pumping air, the gauge drops and the whole thing repeats.
So my plan was to drop the tank again and modify the Liberty canister by adding a draw straw to use fore the AD return so it's filling the canister rather than pumping the excess fuel back into the tank. I ordered a draw straw from Richard at Glacier as shown here, note this one uses a bulkhead fitting for the seal. I felt this would give me a better seal than the one that comes with the AD that uses a grommet as a seal. Also the one from Glacier comes with a black tube you can bend to the shape you need which comes in handy as you'll see later.
http://www.glacierdieselpower.com/zoom_img/14FPA_1151805857.JPG
I ran the engine with the AD return pumping into a 5 gallon can, after a few minutes I'd emptied about 4½ gallons from the tank,. this made taking it out and re-installing easier. I don't use a floor jack, just get under it (after undoing everything on top) and undo the clamps and lower it down, after the first 4 times I'm getting good at this!
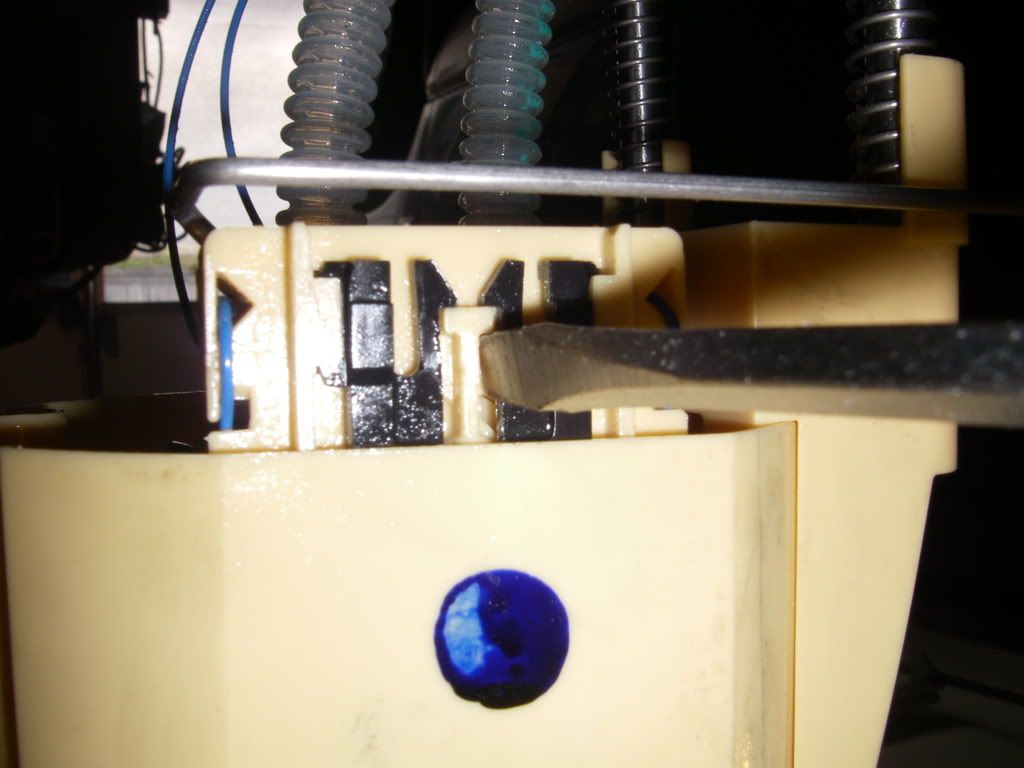
After dropping the tank and removing the canister the first thing to do to be able to grind the ribs off the inside (bottom) of the canister is to remove the fuel gauge sending unit. Using a screw driver you can bend the tabs of the unit 1 at a time then the whole unit will simply pull off the canister:
http://i292.photobucket.com/albums/mm14/Fisherguy_photos/Picture012.jpg
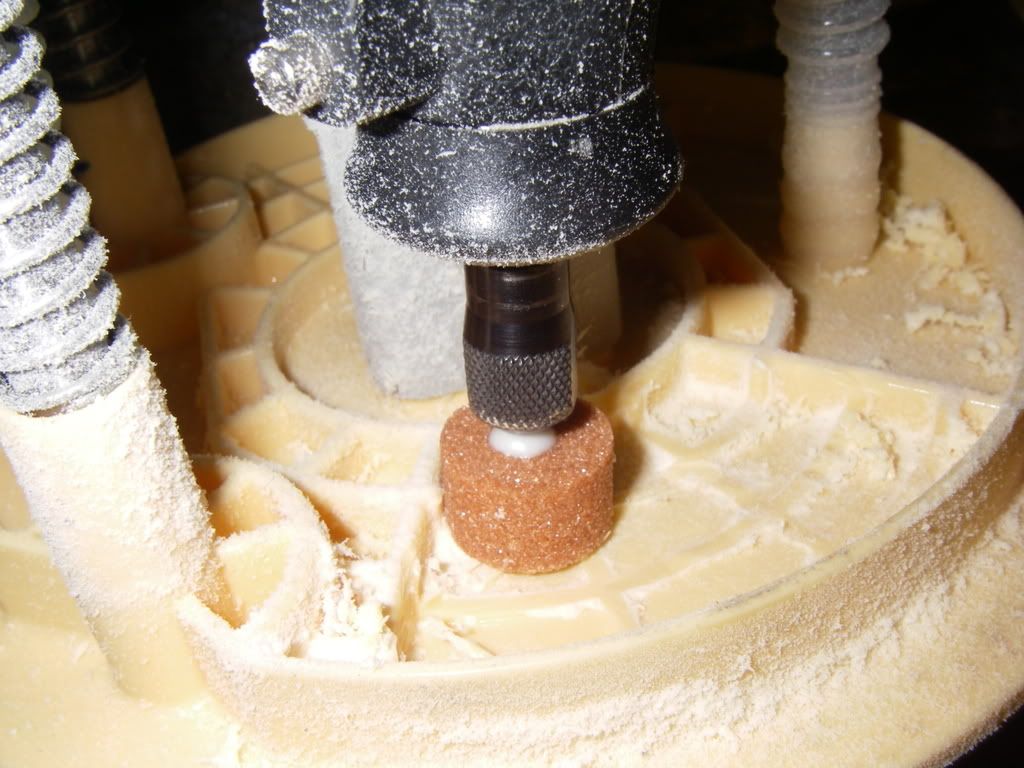
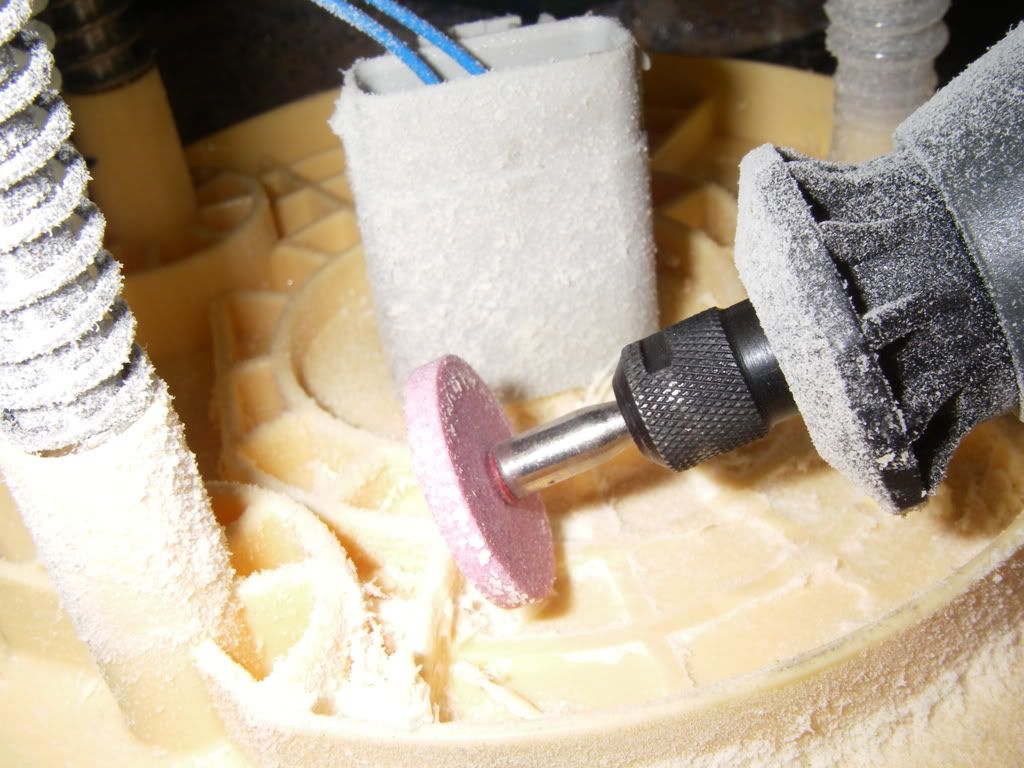
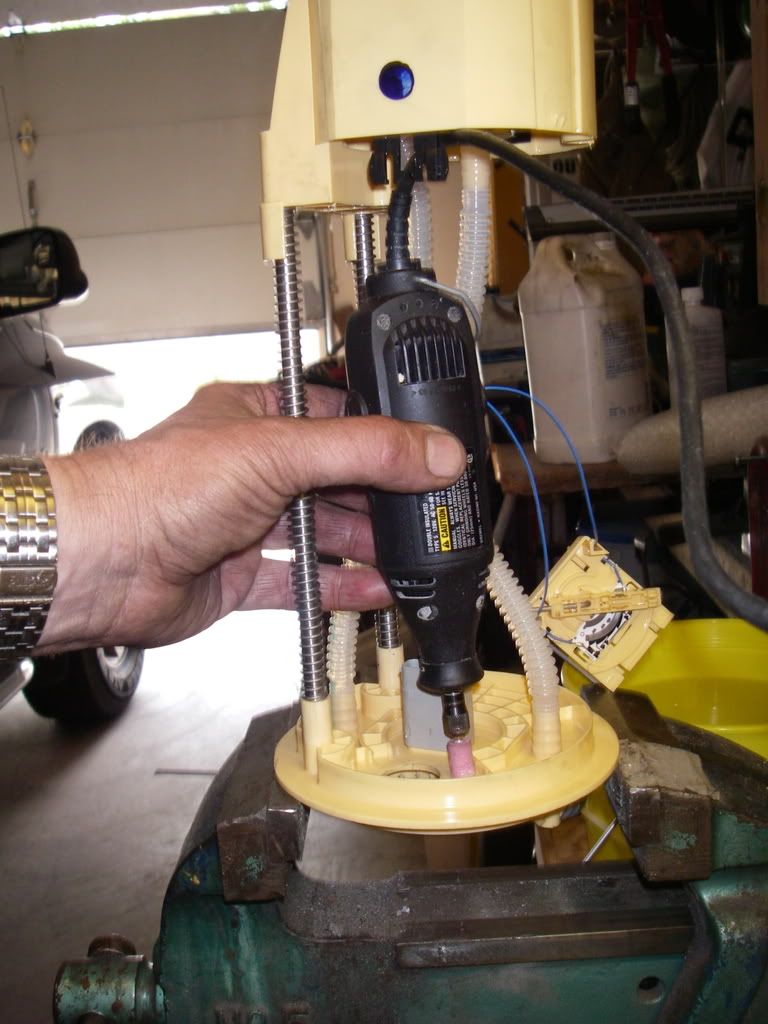
Here's some pictures showing how I ground the ribs using a flat grinding wheel and a cylindrical one so I could grind the ribs even with the surface, you can see the fuel gauge unit hanging in the last of the 3:
http://i292.photobucket.com/albums/mm14/Fisherguy_photos/Picture005.jpg
http://i292.photobucket.com/albums/mm14/Fisherguy_photos/Picture004.jpg
http://i292.photobucket.com/albums/mm14/Fisherguy_photos/Picture009.jpg
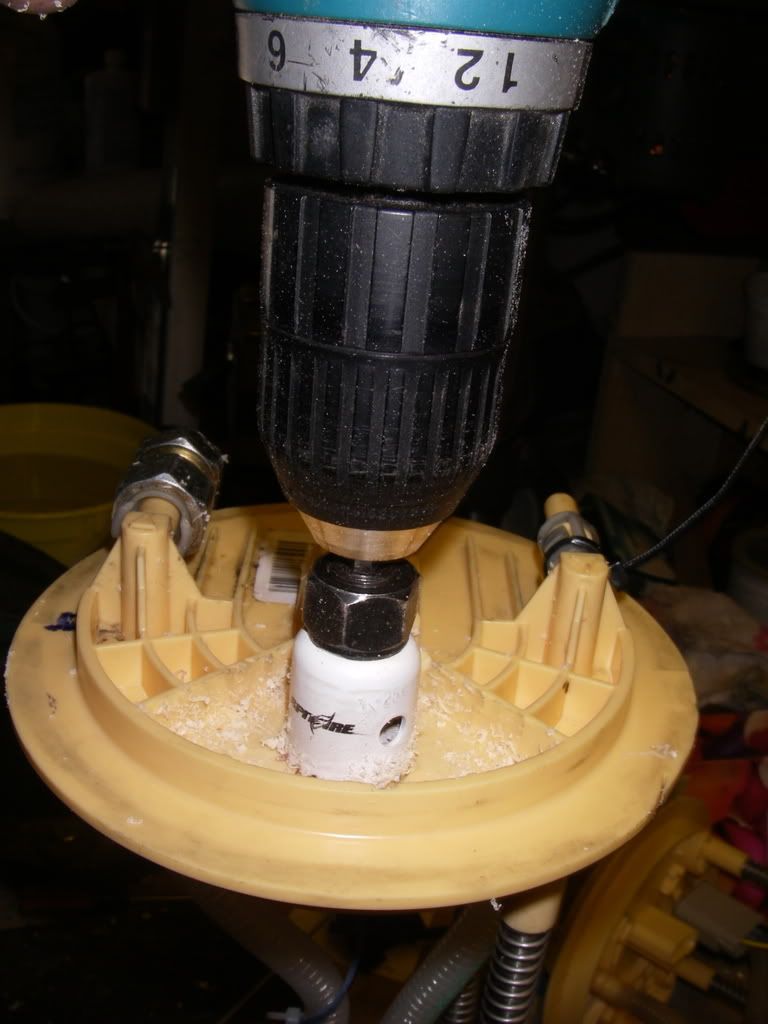
I finished off the outside (top) surface of the canister by sanding with some emery cloth to make it flat as possible so the o-ring of the bulkhead fitting would seal well then I drilled the 1" hole with a hole saw:
http://i292.photobucket.com/albums/mm14/Fisherguy_photos/Picture006.jpg
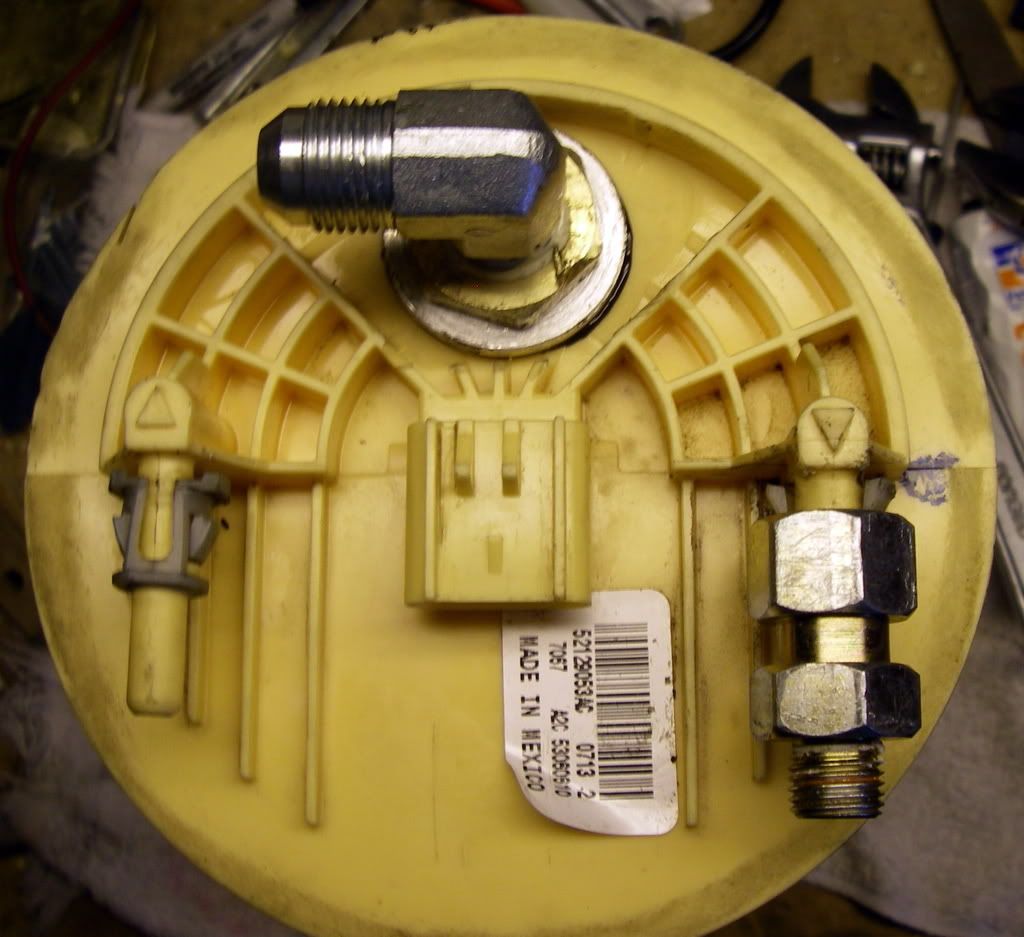
The canister with the bulkhead fitting installed:
http://i292.photobucket.com/albums/mm14/Fisherguy_photos/Picture020.jpg
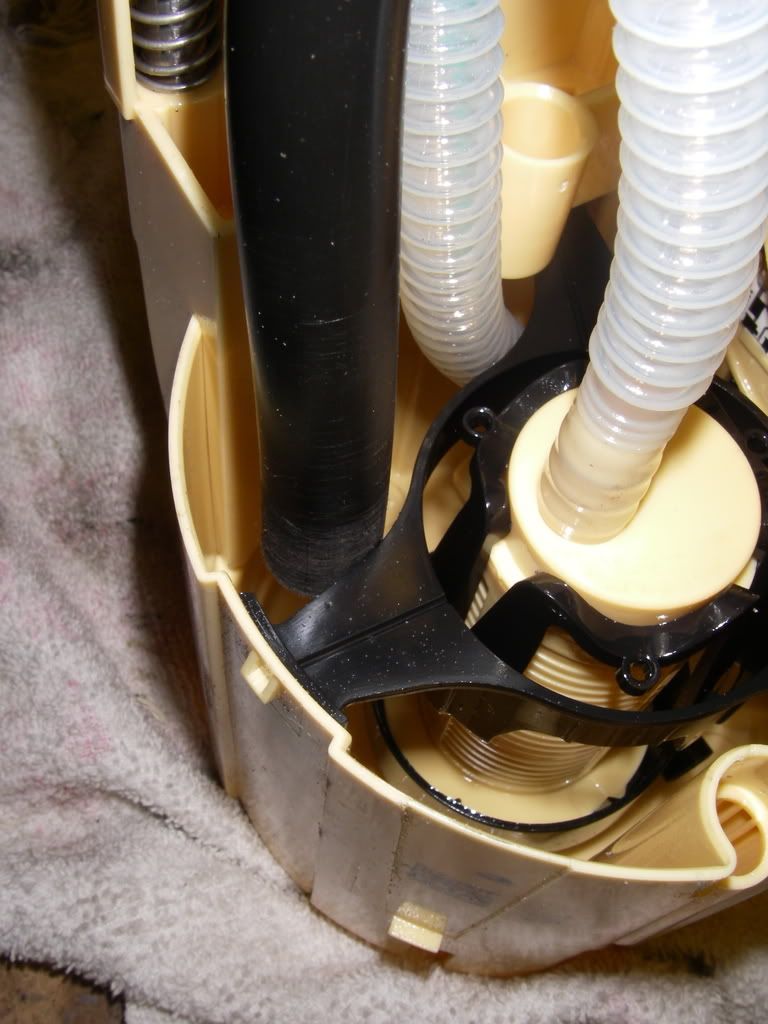
I could not extend the draw straw straight down from where I mounted it because the fuel gauge sending unit would make it impossible for the tube to extend into the canister so I heated it up with a propane torch and was able to bend it so the tube would go into the other side of the canister as shown
http://i292.photobucket.com/albums/mm14/Fisherguy_photos/Picture029.jpg
I measured and found the springs compress about 1½" when you put the canister in the tank, so I trimmed the draw straw so it just passes the black support, when installed the straw will be about 2" from the bottom of the canister:
http://i292.photobucket.com/albums/mm14/Fisherguy_photos/Picture024.jpg
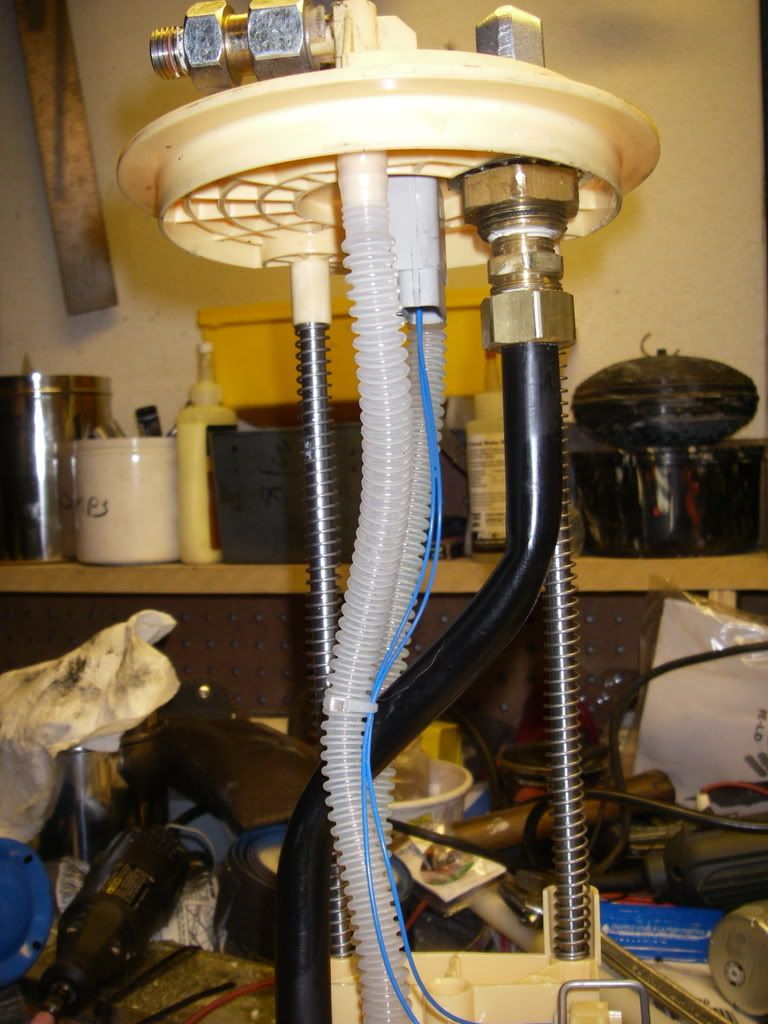
Ready to be put back into place. I had to add a piece of hose to extend the AD return so it's easier to put the fitting and hose on first rather than trying to tighten it once installed, I used a ½" barbed fitting from the plumbing department of the local hardware store and hose clamps to join the hoses together. Also I never was able to get the Dorman fitting off the AD supply line so pre-installed that hose as well.
http://i292.photobucket.com/albums/mm14/Fisherguy_photos/Picture032.jpg
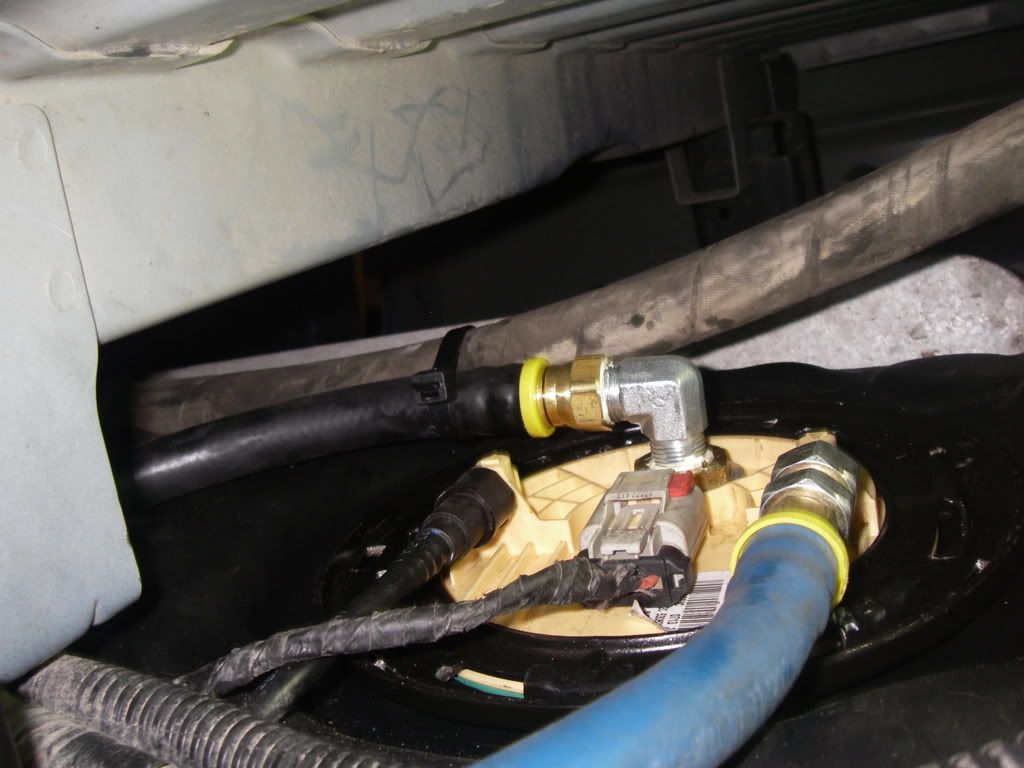
With the tank installed:
(hmmm, better check that red tab on the wiring connector tomorrow, looks like it's not in all the way)
http://i292.photobucket.com/albums/mm14/Fisherguy_photos/Picture045.jpg
I dumped the 4½ gallons back into the tank and started it up. The FP gauge sat at zero till the engine return filled the canister, then the gauge went up to 17 pounds and didn't move, everything seemed to be working great, I was very happy and had a celebratory tasty beverage while I cleaned up the shop. I went for a drive, the fuel gauge was right at E but the FP gauge never went down, it only varied usual as I drove. The LOW FUEL light came on and with the overhead DTE showing 60 miles I went to fill the tank, 137 litres and $204.10 of my hard earned CDN money, OUCH!(Fuel up here works out to 5.64 per US gallon)
So now I'm happy, I have more fuel pressure than I'll ever need and no problems running the tank low, WOOHOO!
Thanks to Mark and Charlie for all their help, especially Mark who I bugged a lot for help and advice!
--Iker42 21:44, 27 November 2008 (EST)